As you enter into this blog, you will find all sorts of DIY's from home décor to papercrafting...all created by me...a sweet & sassy woman, saved by Grace. I am always challenging my world of handmade possibilities & I am always seeking the crafty life! I hope you find lots of inspiration here!
I've designed a beautiful, one of a kind, shabby chic purse as a gift for a bride who loves everything shabby and vintage...so I've heard! I was commissioned to design one of these for a gift and I love how it turned out! I've only designed one other shabby chic purse, but trust me, it was much plainer in design! I created the entire shell and liner using instructions that I found on Google (I just searched "how to make a tote bag") and found inspirational designs from Pinterest to decorate the outside! Most of my laces and the gorgeous flower with the bling center, came from Lavish Laces Etsy shop (the link will be below the pictures), plus a few that were gifted to me by a sweet friend from church! And here's a optional idea on one of the laces I used...the dangle lace, actually was part of a valance curtain I purchased from Walmart! It had about one yard of this gorgeous trim that I cut off and the sheer part of the curtain...I used as the lining inside the purse...a two for one bargain!!! ...and it only cost me about $5.00! This particular lace would be twice that much for a yard at fabric stores! Anyhoo, here's the pics!
For this project, I've taken a 12x12 blank canvas and turned it into a shabby chic/vintage type feel of art that can be displayed in your home! I've done quite a few mixed media techniques on this canvas with color sprays, a little stamping, some paint crackling and added tons of beautiful product from Reneabouquets! This is the first time that I ventured into such a large sized canvas and was surprised that it just sort of "created" itself! LOL! Click on the video and to hear how I achieved this piece from beginning to end! Below the video, you will find close up photos of the project to view the canvas in better detail and following the pictures you will find links to all the product I used from Reneabouquets Etsy store! Thanks for stopping by and I hope this inspired you to create your own mixed media piece of art!!
Soooo, I found this metal butterfly trivet at a sale and knew immediately that I could turn it into a beautiful piece of home décor! I wanted a lot of texture on the trivet itself, so I started by mixing some Grey Chalk paint with a fine grain sand (you can purchase the sand in any craft store) and painted the trivet. Then to add more texture I used Prima 3D Matte gel for an adhesive and applied Reneabouquets Glitter Glass and Microbeads to that adhesive in various areas around the project! Complimenting all this texture, I mixed in tons of Reneabouquets products such as her beautiful chiffon flowers, tiny treasures butterflies and a new release... a 3 layer lace flower applique!! Here are some close-up pictures of my art followed by my Youtube video which explains this project in further detail! Links to the products I used from Renea's Etsy shop are below as well!
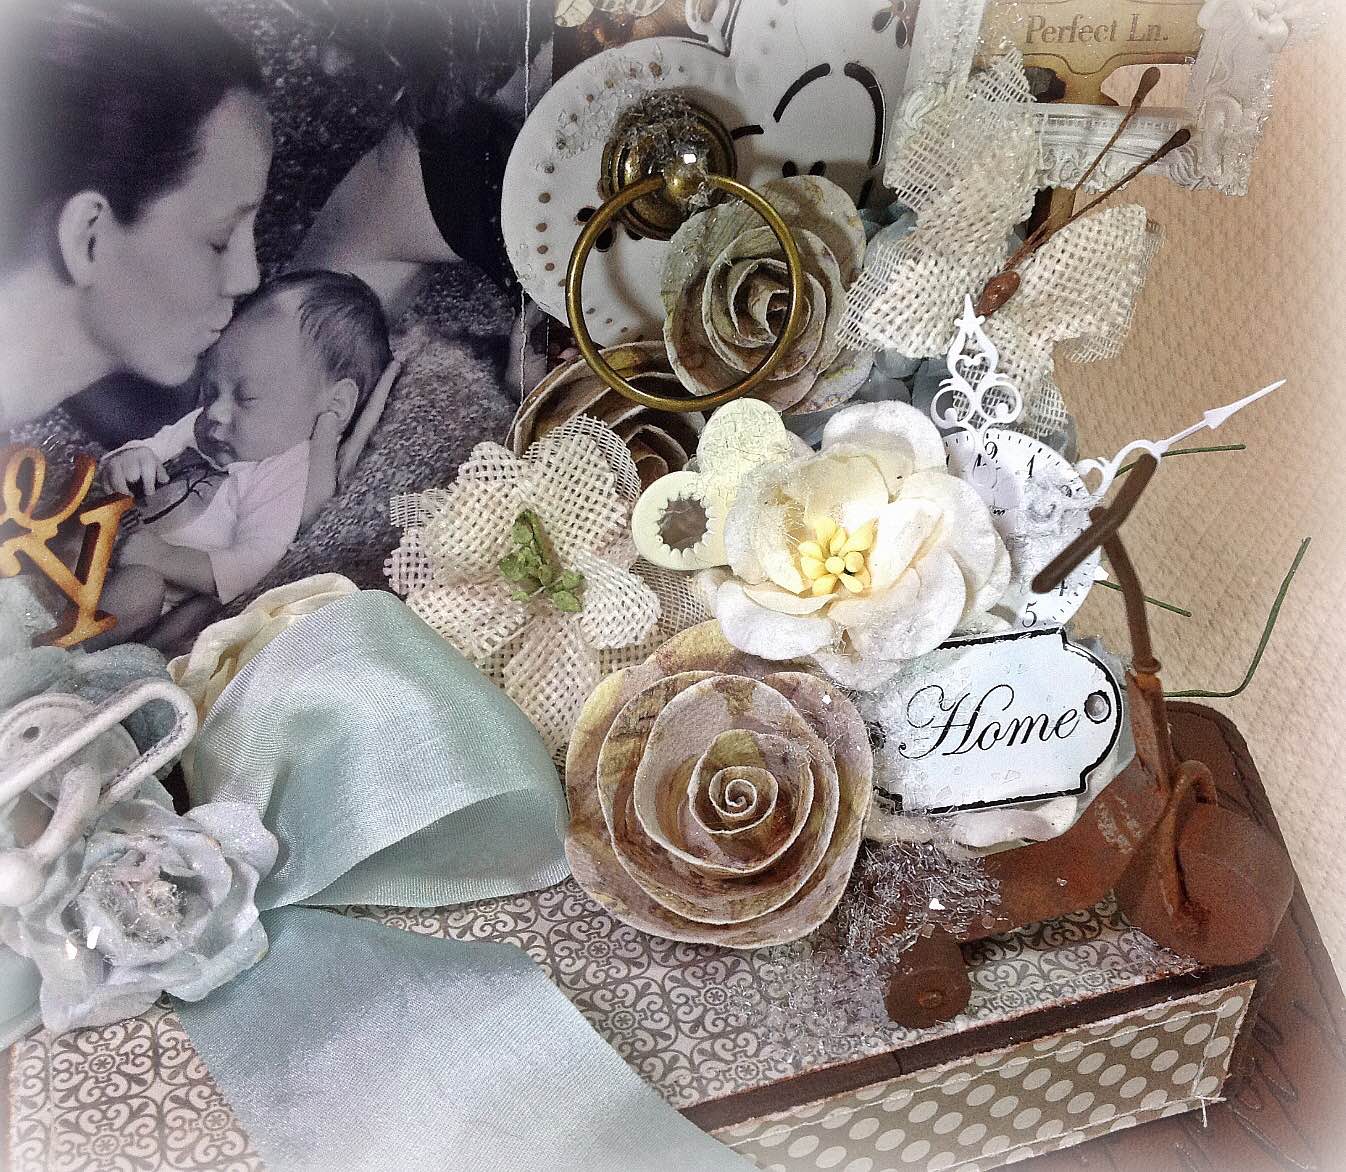
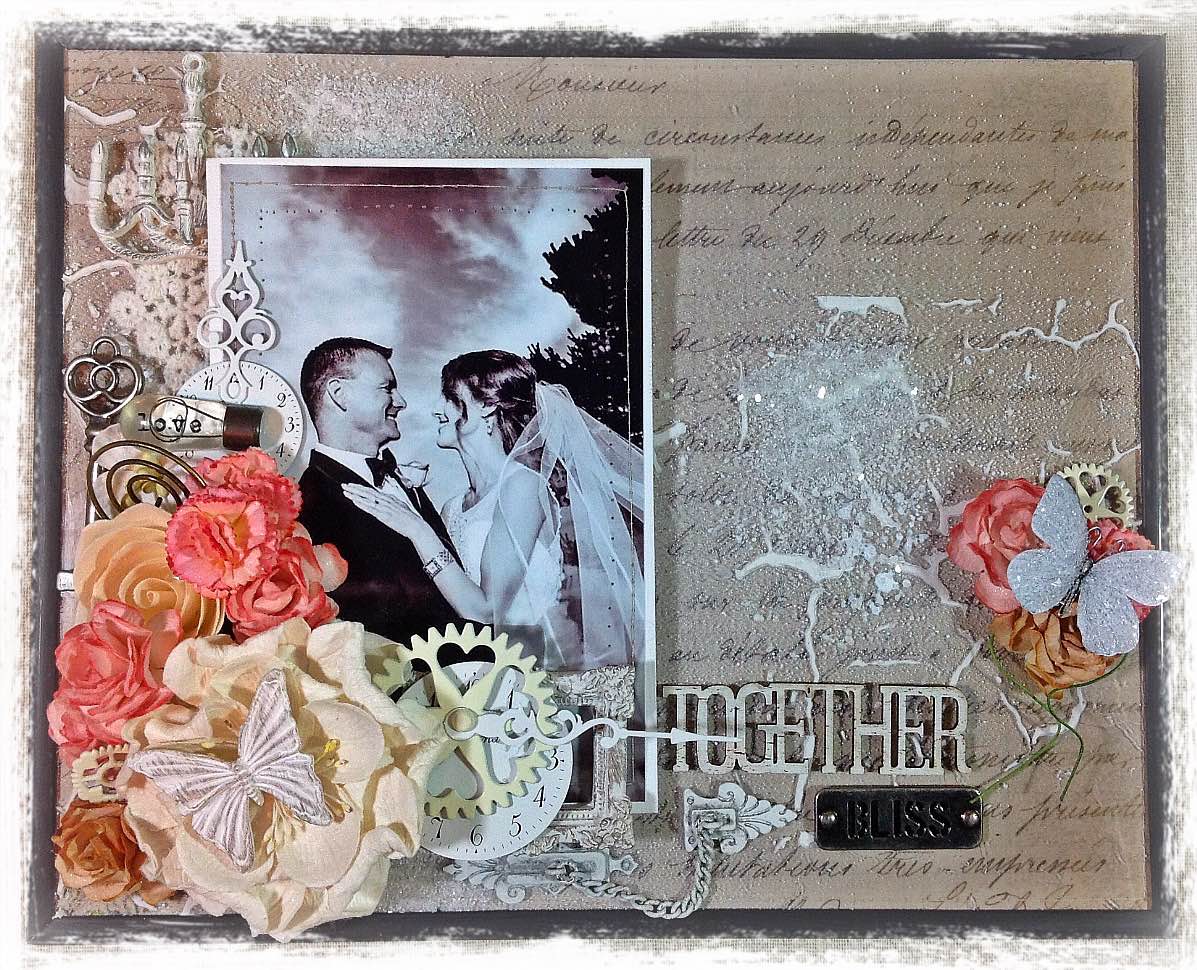
I absolutely LOVE Prima...I love every little nook and cranny of every little product they create for me to use on my pieces!! I have decided to feature altered items/home décor items, a layout, an "off the page" layout, and some cards. I dabble in a little bit of everything, but I mostly love doing anything altered and personalized home décor items that houses beautiful photos, cards and layouts. I love doing all things mixed media, with a shabby chic or vintage feel and just a touch of romanticism. I don't often create art unless there is some sort of story behind each piece...I can't just wing it...it needs to have an inspiration behind it. For example, maybe the piece is a sweet love between a Mom and her first born child ("A Sweet Love" below), possibly an irrevocable bond between a man and woman ("Special Moments" below) , a special message of inspiration to a wonderful friend ("Just Breathe" below), an inspirational way to journal about your "path" of life ("Change the World" below), or maybe just a sweet fairytale to brighten your day ("Shabby Chic Altered Pumpkin Shaped Carriage" below).
Prima allows me to mix and match paper lines and embellishments, which I really love to do, because I cannot just stay within one collection. I love to take a little of this and put it with a little of that! And I love to create a piece that only uses embellishments, because, let's face it, sometimes, not a stitch of paper is even needed to make a project beautiful! Everything goes perfectly together...which works greatly for me when I alter products or do layouts. I simply pull out all my different Prima products and create my pièce de résistance! Since it's not fun to share my work with only myself, I teach my crafting process through my Youtube videos, that I have been sharing for a few years with a large number of subscribers who support and follow my channel (the link is to the right on my sidebar) and this blog as well as sharing my completed works on Pinterest (the link is to the right on my sidebar) and FB. I love to share my zest for all things craft related! It's an obsession, I must admit! :)
Here are some pictures of my work over this past year. I've also chosen to add a few Youtube videos with the "start-to-finish" process of a few of my pieces. (If I am sharing a video of a certain piece, the link will be directly below the picture)
Thank you to Prima for taking a moment to consider my love of art for your DT! It certainly is my pleasure to share them with you!
"A Sweet Love"
"Special Moments" Layout
"Just Breathe" Home Décor
"Change The World" Altered Journal
YT Video Start to Finish for the journal:
"Shabby Chic Altered Pumpkin Shaped Carriage"
"Together" (an off-the-page layout)
"Forever"
"You and Me" (altered canvas #1)
"Imagine" (altered canvas #2)
YT Video Start to Finish for the "Imagine" Canvas:
"Smile" (an altered wood plaque)
"Altered Storage"
"Altered Picture Frame"
YT Video Start to Finish for the Altered Picture Frame:
"Shabby Chic Cards"
YT Video Start to Finish for the Shabby Chic Cards:
...and for a more simple approach, here are some vintage type cards:
Here is another project that I created for Reneabouquets!! I love to alter unique pieces that I find into pieces of art that can be displayed beautifully amongst any home décor. I turned this particular piece of metal wall art décor into something inspirational. (I found the metal scroll piece at Hobby Lobby). I wanted to create this for a friend, in hopes that it lifts her spirits whenever she glances at it!
I concentrated on colors of teals, pinks and whites because of their soothing color palate. Here is the YouTube video that explains this product in further detail!
The links to the products I used from Reneabouquets will be below:
This is a recent project that I created for Reneabouquets!! I turned a 7x7 wooden trivet into a tabletop shabby chic working clock. I drilled an access hole to put the clock mechanism through and then decorated around it with yummy product from Renea's store! It is very easy to design with her product, because she carries the latest and greatest from several different companies as well as beautiful one of a kind items that she creates herself!!
There is a link to the right on my sidebar that will take you directly to Reneabouquets...just click on it... or if you are interested in an individual product that I used on this particular piece, the links are down below! Thanks for stopping by!!
Here is the YouTube video that explains this product in further detail!
I wanted to make some altered home decor items using wood blocks and glass candle stick holders. What I came up with will make some fun gifts. I glued the candle holders to the bottom of the wood blocks and then began to decorate the two pieces. On one of the pieces I wanted to do the quote, "I love you to the moon and back" and on the other piece I just wanted it to focus on Love. I used the Sweet Paris paper collection from Dovecraft for both pieces. I wanted them shabby chic, with some movement and a little hardware....just for fun! I used a wooden heart that I purchased from Joanns on both pieces that hangs underneath the wooden blocks for added interest. I like how they turned out!! Super cute! I will have the list of products used from Reneabouquets below the photos. You can click on the links to go directly to the products from the Etsy store. Or if you rather, you can visit the .com site at http://www.reneabouquets.com/. To make it short and sweet...Here are the photos: